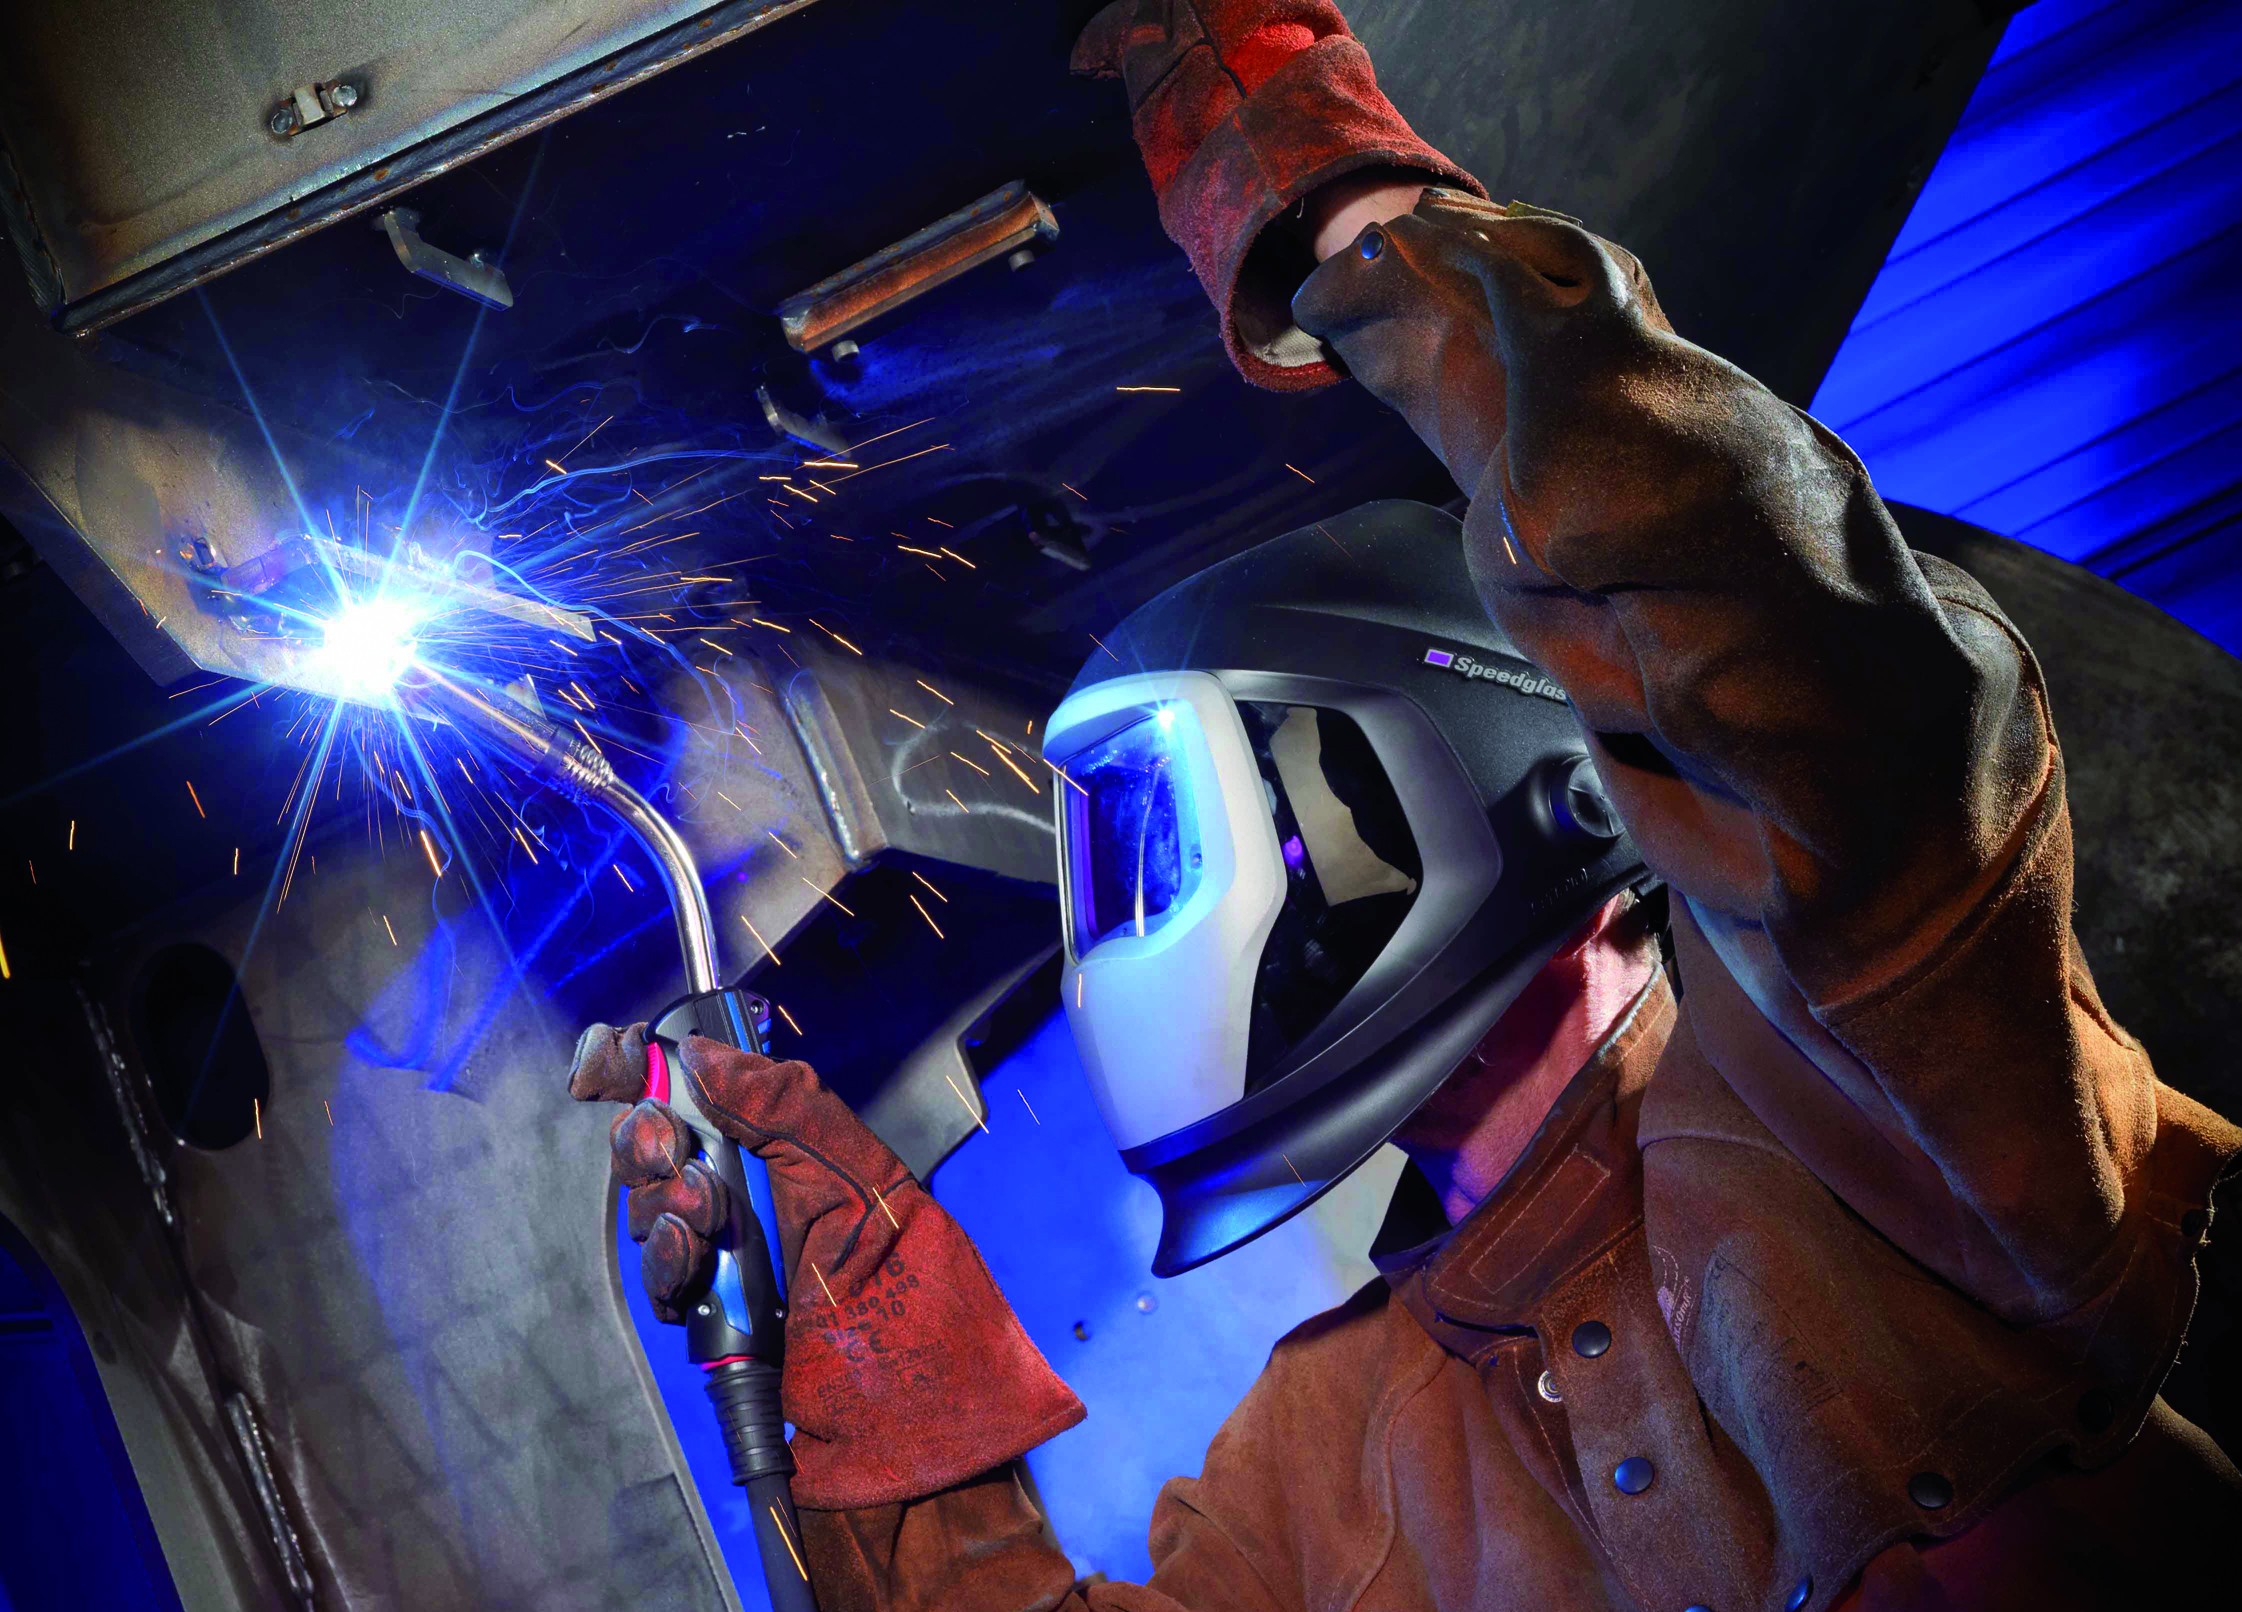
What is MIG Welding?
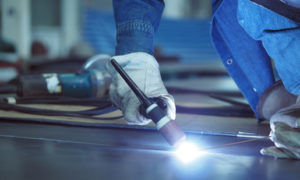
Metal Inert Gas or MIG welding is an arc welding process that uses a continuous solid wire, heated and fed into the weld pool from a welding torch. The two base materials form a join as they are melted together, while the welding torch shields the weld pool from airborne contaminants, therefore increasing the strength of the weld, by feeding a shielding gas alongside the electrode.
MIG welding is a versatile technique, well suited for either thin or thick section components, whereby an arc is struck between the end of a wire electrode and the workpiece, meeting them both into a weld pool. The welding wire serves as both the heat source via the arc at the tip and the filler metal for the welding joint. This process offers high productivity by continually feeding the wire from a motor reel drive as the wire is continuously fed, whilst the weld pool is shielded from contaminants by a shielding gas fed through a nozzle surrounding the wire.
There are various MIG welders to choose from. When searching for the one that meets your requirements, there are a host of key factors to consider, which we will go through in this piece to enable you to find the best fit for you.
Single Phase v Three Phase
To get the best performance from your MIG welder ideally you will need a three-phase welder. As the rectifier cuts off the negative part of the alternate current (AC) wave, it creates a direct current (DC) within the welder, creating a smoother feeling and a smooth weld.
Now, in your home workshop or garage, you may not have the three-phase capability. In this case, you would have no choice but to choose the single-phase welder. As it cannot cut off the negative part of the alternate current (AC) you are left with gaps in the wave. To compensate for these gaps in a single-phase welder, capacitors are used. Capacitors help to fill this gap, therefore creating a smoother weld. The better the capacitor, the smoother the weld.
So if you can’t have three-phase then choose a MIG with good capacitors for a smooth arc.
Air-cooled or water-cooler welding machines?
Air-cooled MIG welders are kept cool through the ambient air and shielding gas alone, while water-cooled MIG welders have a cooling solution pumped through them, into the gun handle and neck via the power cable.
Air-cooled welders are the more portable option, as they require far less equipment to be transported and set up before you can begin the welding process. However, for heavy-duty welds, you may be better equipped with a water-cooled welder. This is because heavy-duty welding often requires more cooling, which the water-cooled welder can provide.
Cost is always a key factor when deciding to purchase anything, and a MIG welder is no different. While a water-cooled welder may cost more upfront, due to the coolant flow systems and special coolant solutions, it is this same system that can prolong the life of the welding machine as they are protected from overheating more effectively and the life span of consumables is extended as heat is drawn away from the arc.
Matching the Drive Rolls, Torch Cable Liner, and Contact Tip to the Wire
Surprisingly, this basic feature is often overlooked. If the wire diameter does not match the diameter of the drive rolls you will find yourself constantly changing the feed speed and never quite getting the setting right. The same principles apply to the torch cable liner and the contact tip size.
It is always important to check which wire reels you will need when looking for a MIG welder. The correct wire combined with the correct tension is key. Too much tension causes deformities in the wire, while too little allows the wire to slip.
It is not just the wire size you have to watch out for however, the wire material also has an impact on the type of drive rolls you should be using.
For softer wires such as gas flux-cored and metal-cored wires, a V-knurled roller is recommended as these have teeth that dig into the wire, guiding it through smoothly. Solid wires are stiffer and therefore will feed through more easily on their own, making V-groove rollers an ideal choice. Whereas for very soft wire, a delicate U-groove roller is the key to ensuring the wire’s surface remains pristine.
See our MIG Welding equipment and consumables – click here
What materials do you want to weld?
MIG welding is particularly suited to use with non-ferrous metals. This is because these metals, such as magnesium, copper, and titanium, oxidise very easily and are very sensitive to moisture and pick up impurities from the weld.
MIG welding combats this because they utilise shielding gas for welding, therefore keeping out the impurities that are often picked up, whilst remaining a highly productive method of welding.
With various metals having different properties and weld differently or may take a different level of skill to weld, it is always important to know the benefits and downsides of the various metals you are working with.
Practice, Practice, Practice
As with any skill or craft, the best way to perfect what you do is simply to practice. With MIG Welding suitable for use in a variety of positions we recommend you become accustomed to welding in a variety of positions.
The position in which you weld may affect how you weld, do you push or pull? And what travel and working angles will you be able to utilise?
The forehand technique is otherwise known as the push technique and involves pushing the torch away from/ahead of the welding puddle. While this affords you a better view of what you are welding, you sacrifice some degree of penetration which produces a wider, flatter weld bead as the arc force is directed away from the puddle. Whereas the backhand or drag technique, otherwise known as the pull technique points the gun back at the weld puddle, typically producing deeper penetration and a narrower bead.
When welding, the travel angle is defined as the angle relative to the gun in a perpendicular position, with normal welding conditions usually calling for an angle between 5 and 15 degrees, with angles beyond 20 and 25 degrees generally producing less penetration, more spatter as well as decreased arc stability. The work angle is defined as the position of the torch relative to the angle of the welding joint, and it varies with each welding configuration.
A Butt weld is a 180-degree joint, where the torch should be held at a 90-degree angle to the workpiece, while a T-joint is a 90-degree joint where the torch needs to be held at a 45-degree angle. And a Lap joint, otherwise known as a fillet weld requires varying angles, between 60 and 70 degrees, depending on the thickness of the metal to be welded, the thicker the metal the greater the angle.
Then you have the varying welding positions, be it in an overhead position, flat, vertical or horizontal. Each of these requires a slightly different technique, and the only way to master the art of MIG welding is to practice, practice, practice.
See our full range of MIG welders – click here
Please contact Engweld for more information on MIG welding and associated products.